Featured

Everyday Purse Essentials

I like to keep certain products handy in my bag that are great in a pinch to touch up my appearance. This is a lifesaver for me! If you’re in a rush, having these items with you will be super helpful.

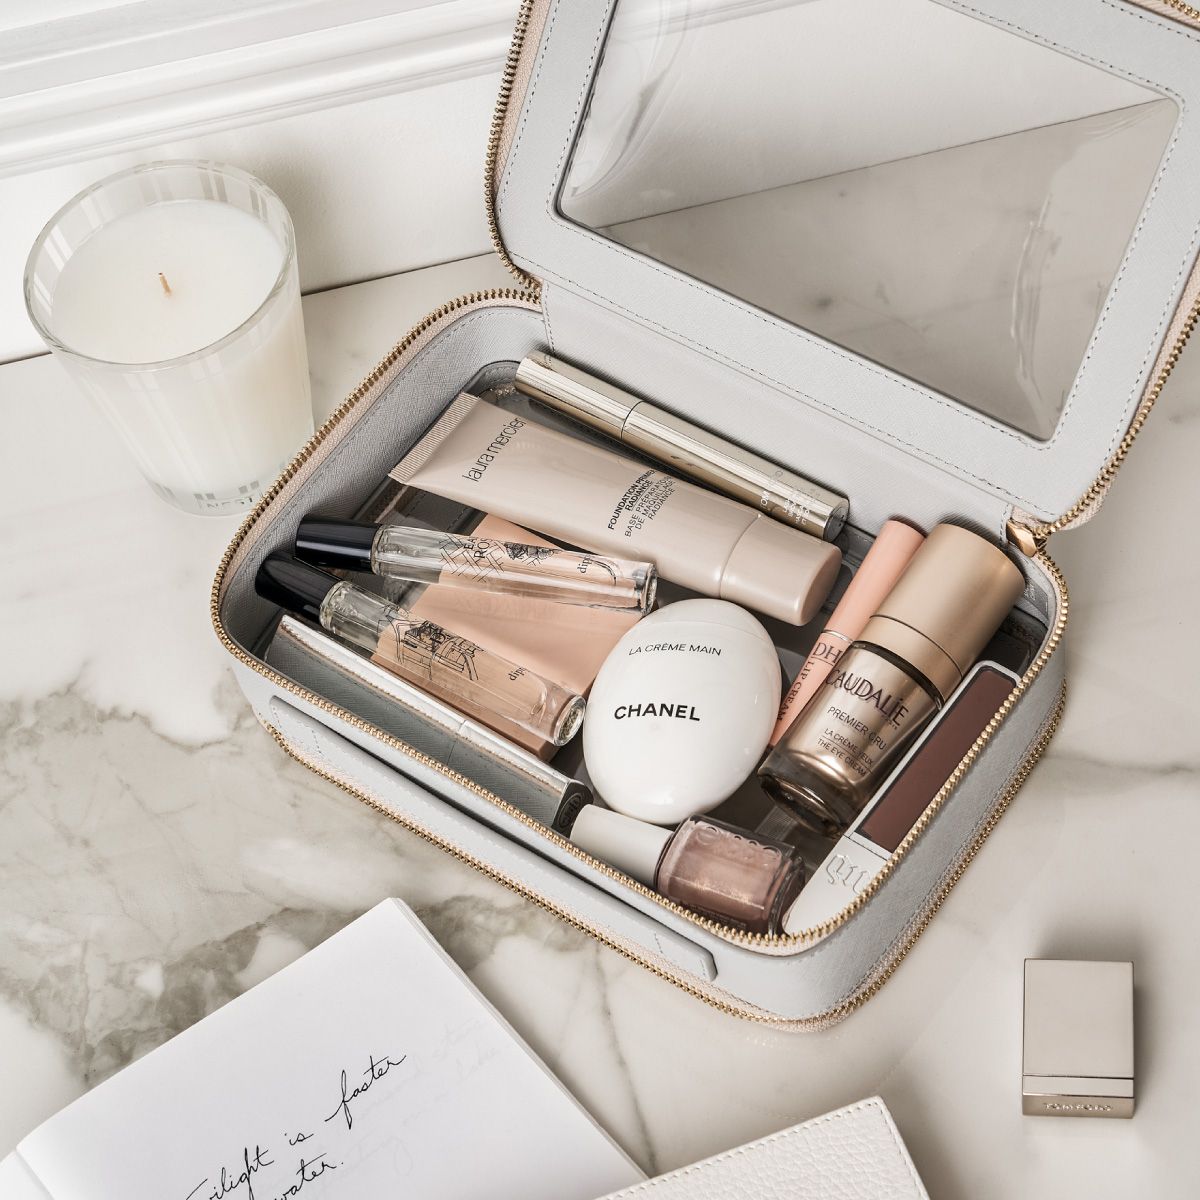
Everyone’s essentials will vary, but these are the ones I carry with me. In my bag I have a mini folding hairbrush, moisturizer, a compact mirror, a compact powder, and lipstick.

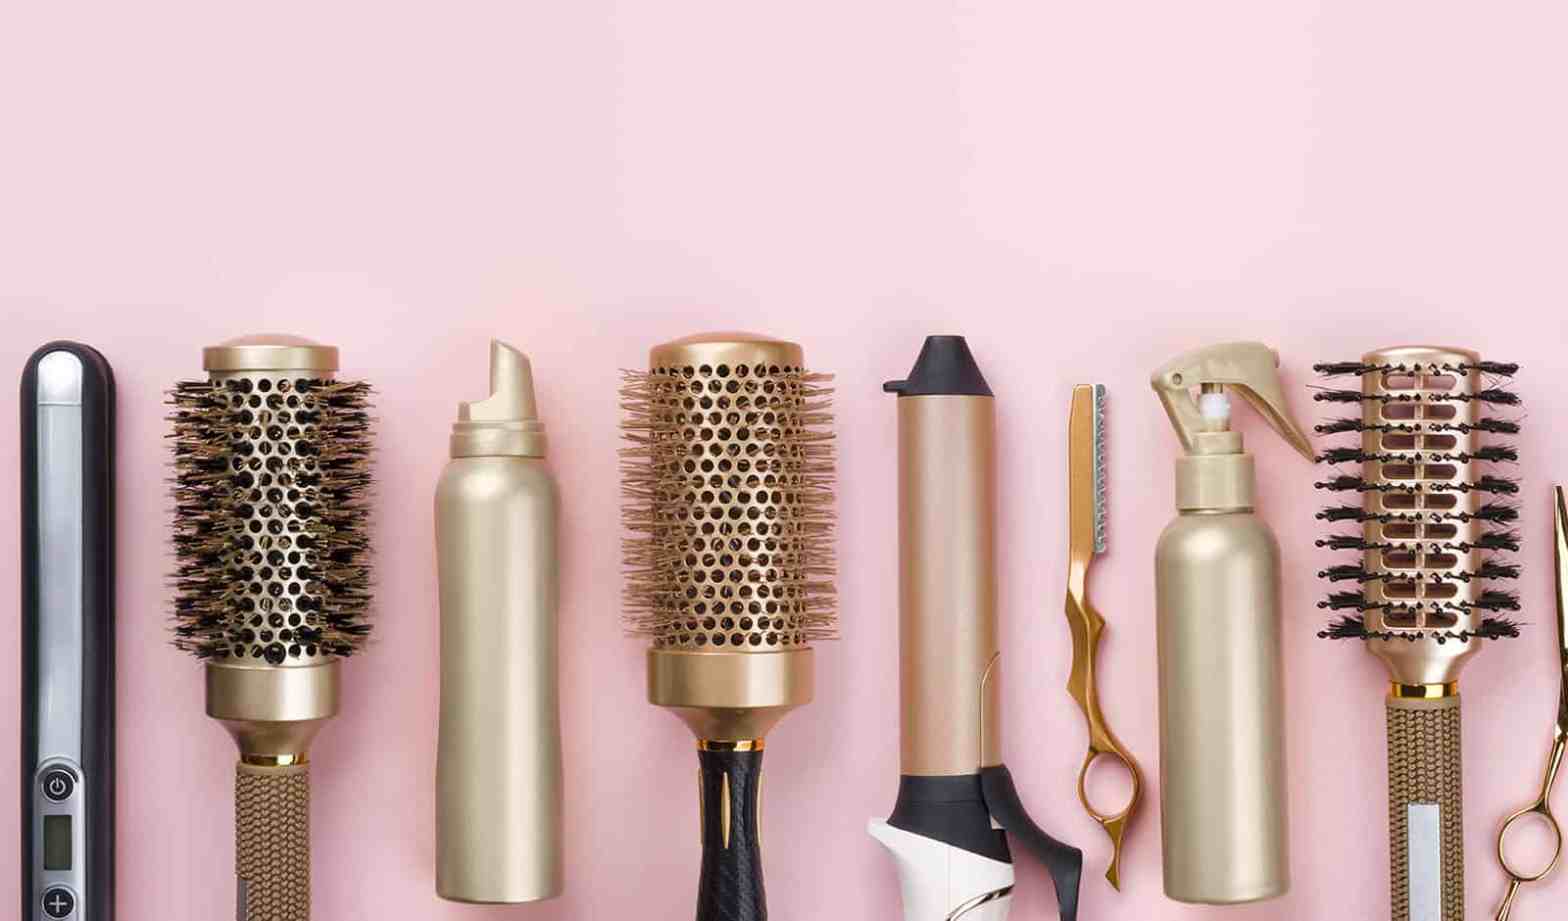
The mini folding hairbrush takes up minimal space in your bag and helps tame your hair while you’re out. The one I have has a little mirror inside the fold. From my experience, this is so useful on a windy day!

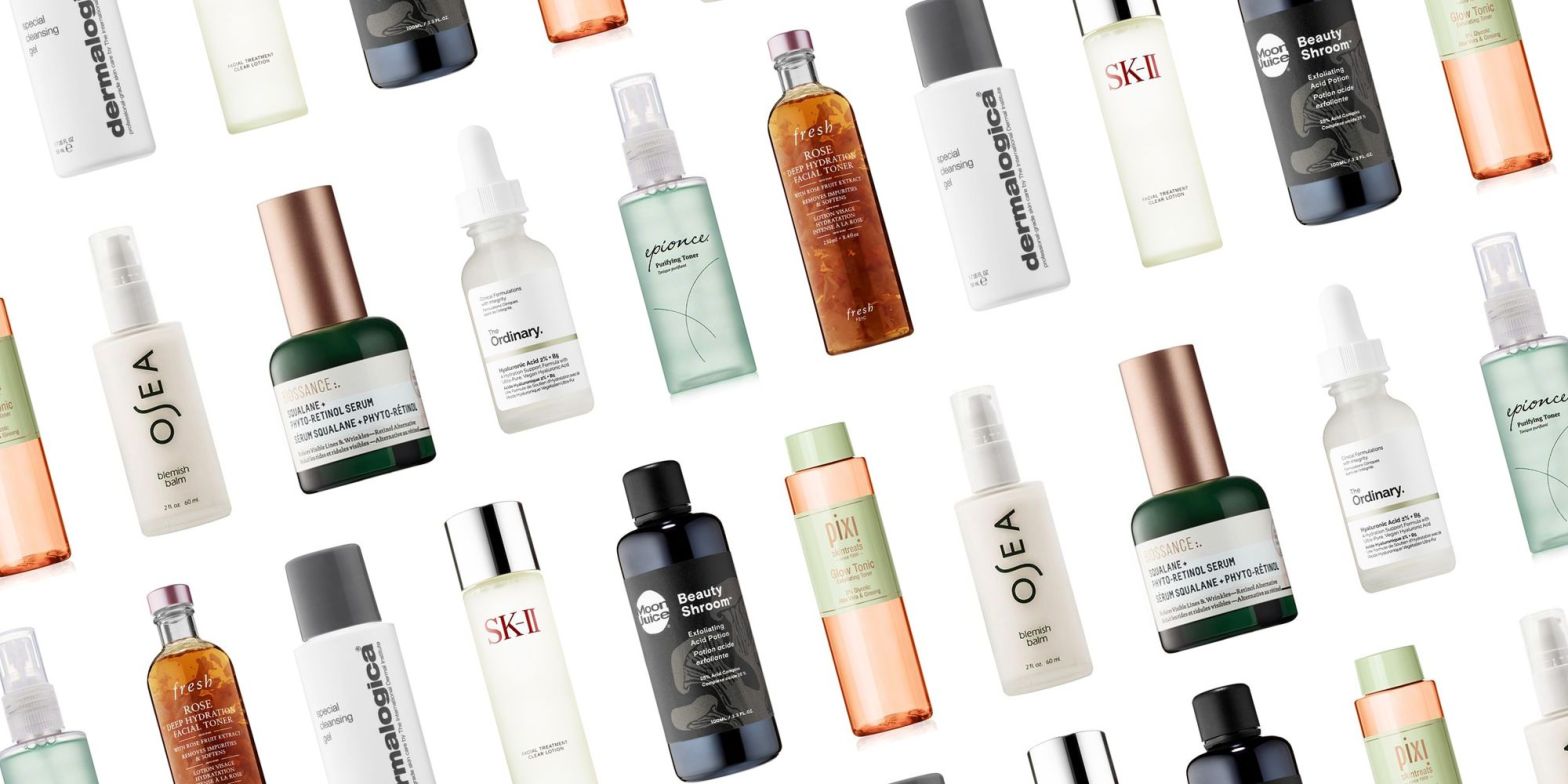
I like to keep an unscented face moisturizer with me incase I have visible dry skin. I also bring a mini scented hand lotion during the winter; this can also double as perfume if you forgot before leaving the house. Just apply the hand lotion to your wrists, collarbone, and behind your ears. This is definitely a good trick in a pinch!

In case you don’t have access to a mirror, carry a compact one in your bag. My hairbrush happens to double as a mirror too, so I don’t need to carry a separate one. This is super helpful in touching up your hair and makeup on the go!

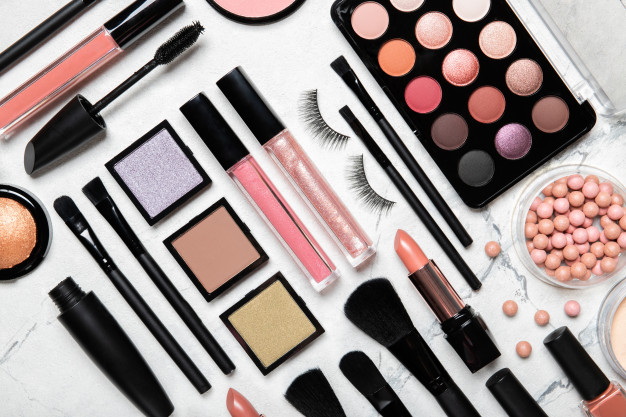
A compact powder is another super convenient product to have handy. I carry my powder foundation with me on days where I have a full face of makeup on. On days where I’m not wearing face makeup, I bring a compact translucent powder to combat any oily skin. Sometimes these items have a compact mirror in them as well, which saves space in your bag!

My favorite item that I always have with me is lipstick. I love switching it up and using a different one each day. This adds a pop of color to your face and complements your complexion!

These are my everyday essentials and I hope you draw inspiration from what I carry with me. Pack your bag with these touch-up items now so you don’t forget them on the run!

xoxo,

Michelle

Skincare 101

The secret to a healthy glow is actually super simple. Building a skincare routine for morning and night is key along with the products you are using. There are four basics that should be included in your routines.

Step one is to invest in a cleanser to remove all of the built up oils on your face from day or night. Since this is a super general product, it might take a lot of experimenting to see what works best for your skin. Just to name a few places, you can find a good cleanser at a drugstore, like CVS, Sephora, and Ulta. From CVS, I find that Cetaphil Daily Facial Cleanser and Cera Ve Foaming Facial Cleanser are two great products that won’t cost a fortune. From Sephora, I have used Drunk Elephant Jelly Cleanser, Origins Frothy Face Wash, Belif Aquabomb Jelly Cleanser, and Kiehl’s Deep Pore Daily Cleanser. My skin tends to be oily so I shopped wisely for items that would clear any blemishes and reduce oil buildup. I am a huge fan of all of these products listed, however the ones from Sephora are certainly more expensive but worth the splurge.

It is great to exfoliate your skin 2-3x a week (morning OR night) after using your facial cleanser. Exfoliating removes any sort of product build up along with dead skin cells, leaving you with glowing, smooth skin. This is good for improving the texture of your skin, but you can choose to do this less frequently if you have dry skin. I like to use the Deep Action Exfoliating Scrub by Clean and Clear and the Apricot Acne Scrub by St. Ives. Wash your face gently, you don’t want to create little tears in the skin by scrubbing too hard. This would irritate your skin, causing more breakouts and redness.

A good moisturizer goes hand in hand with your cleanser and exfoliator. This also requires some trial and error, because you have to find one that agrees with the oils and texture of your skin. I prefer water-based creams because they don’t make my face oily. I like the Drunk Elephant Polypeptide Moisturizer, the Belif True Cream Aqua Bomb, the Origins Ginzing Moisturizer, the Tarte Drink of H2O Moisturizer, the Cera Ve Facial Moisturizing Lotion, and the Cetaphil Daily Facial Moisturizer. There are many great brands here that range in cost depending on what you’re looking for.

Believe it or not, but the last item on your list is sunscreen (morning only)! Sometimes you can buy a concealer/foundation that has SPF in it, which is a great option. The sun is so damaging to your skin, so it is important to always protect it! Many people skip this step, but it is definitely great for your long term skin health.

You’ve mastered Skincare 101, now get to it! Build your personalized routine for a clear, glowing complexion.

xoxo,

Michelle

Makeup Tool Musts

Having the right tools and brushes to work with is a MUST for creating the perfect look.

The tools and products you’ll need for a full face of makeup include: face cream, a beauty blender, a makeup sponge, an eyelash curler (optional), mascara, lipstick, and a set of brushes.

Find a face moisturizer that works with your skin’s natural oils and texture to prime your face for the makeup you are about to use. This will prevent the “caked” look and nourish any dry skin.

I prefer to apply my foundation/concealer with a beauty blender if I am using foundation sticks or a liquid foundation/concealer. If using a foundation stick, gently blend the area where you applied the makeup to with the beauty blender until it is smooth to your skin tone. For brand recommendations, I love the Fenty Beauty concealer sticks and will definitely stick with it! I guess you could say I’m a huge fan. If using liquid foundation, apply the foundation to another surface first (I like to use the back of my hand) and dip the beauty blender into the makeup then gently blot until smooth. I use the IT Cosmetics CC+ cream foundation because it gives good coverage and is super lightweight. My skin tends to get oily, so I like to use power foundation most of the time. This can be blended into the skin with a makeup sponge, which is a good alternative to have to a beauty blender. I love the Matte Perfection powder foundation by the Sephora Collection.

An eyelash curler is a super great tool, but totally optional. It is certainly a must if you feel like your eyelashes don’t curl naturally the way you’d like them to. I like to use it if I slept on my side and bent my lashes. The brand here isn’t a key factor, and they can be found at any local drugstore, like CVS, a beauty supply store, Ulta, or Sephora.

Mascara and lipstick are certainly musts to complete a full face of makeup! Mascara helps to darken and lift the lashes. I like to use Roller Lash by Benefit, They’re Real! by Benefit, and KUSH High Volumizing by MILK. These can be found at Sephora, but good quality mascara can be found at a drugstore too! Brands I like that can be found at CVS are L’Oreal and Maybelline. Lipstick can be subtle or a statement piece to your look! Definitely go for what you like here. I prefer subtle pink and red tones because I feel they complement my skin.

Having the makeup you need is useless without the right brushes! I like to keep a simple set of them handy including a brush for foundation, bronzer (contour), blush, powder, concealer, highlight (fan brush), eyebrows, eyeliner, and eye shadow (pencil and blending brushes). A set of brushes with these items in it can be found at a local drugstore or Amazon (although I find the quality varies here), or at a makeup store such as Sephora or Ulta (the brands sold here tend to create higher quality sets). There is definitely going to be variation between different sets of brushes, so it is important to check that it has all of the basic tools you need.

Practice makes perfect! It took me many tries to find a good balance between different products and techniques to figure out what I like. Now get your glam on!

xoxo,

Michelle

How it all Started

I have always been into the latest beauty trends from a very young age. I started doing my hair before school when I was 5 years old because I insisted on having a neat ponytail. In elementary school, my best friend and I would sleep on curlers and wake up looking like Shirley Temple. I enjoyed using curling irons, flat irons, and experimenting with makeup ever since. My passion for beauty grew, and in high school I learned I was good at braiding. I soon became the “team braider” for my soccer team and gave everyone the Alex Morgan French braid before our games. I would do my friends’ hair with curls and often a waterfall braid before occasions; I also did this just for fun of course with my friends.

My love for anything beauty-related has become much more part of my everyday life, rather than just something fun to do with friends. I have learned about how important it is to take care of your skin and protect your hair from heat damage. I experimented with many products to find what worked best for me and were healthy for my skin and hair.

My blog is meant for people of all skill levels who are interested in learning more about cosmetics. I began running an Instagram account (@hair_beauty_bymichelle) to document my tips and tricks, but decided this was also a fun platform to post on. Many of my posts on Instagram have longer captions and require more detail, so blogging allows for my tips to be thoroughly explained.

Happy Reading!

xoxo,

Michelle 🙂

Must-Have Hair Tools

The key to having great hair is having great tools and products.

Some of the items that you will definitely want to keep on-hand are heat protectant spray, a round brush, hair dryer, flat iron, and curling iron/wand.

Heat protectant spray is a MUST! You cannot put such high heat on your hair without damaging it. This spray will help protect the hair cuticle and prevent split ends. Some good brands that I love are Chi, DryBar, and Moroccanoil and they can be found at Ulta or Sephora.

A round brush is a staple in your bag of tricks for a bouncy, salon-inspired blowout. I like to keep two sizes handy: one large round brush to blow out large sections by the roots and one smaller one to flip the ends. These can be found at any local drugstore like CVS or a beauty supply store. I prefer to use Revlon round brushes because I find they are good quality, but the brand here is not super important. Buy what you like!

Investing in a good hair dryer is another must-have item. The hair dryer will help seal the hair cuticle, which eliminates frizz and creates a sleek look that can be worn as is or styled further. Make sure to use the attachment nozzle to focus the projection of hot air. This will help you achieve a frizz-free blowout by directing the hair down along the brush. A good brand is the Revlon Shine Booster Hair Dryer and it can be found at your local drugstore, without costing you a fortune. A higher-end choice that I recommend is the DryBar Buttercup Dryer, which is definitely a pricy item, but it is so worth it.

A flat iron can be used to perfect a blowout or tame slept-on wet hair. A good flat iron will give you straight hair with minimal frizz. Personally, I find that straightening my hair after blowing it out tends to make it smoother and less frizzy. The type of flat iron you have is important: ceramic and titanium plates are safer for your hair. They are less harsh on the hair cuticle, which is less damaging, and result in a smoother, straighter look. The ideal temperature to work at is 365°F because it will not burn you hair, just be careful to not go above that too often. I recommend Revlon irons because there are many kinds of plates offered, so you can choose what’s best for you. Plus, they aren’t too expensive! These can also be found at drugstores like CVS.

What’s a flat iron without a curling iron? These two are essentials for me. A curling iron or curling wand are great for achieving a range of looks from beach waves to tight curls. The difference between the two is that the curling iron has a metal clamp on the side and the curling wand does not. These are my favorite tools for sure, I am a huge fan of curls and waves. Once again, make sure the heat of the iron is not much above 365°F to protect your natural hair. I like to use Revlon curling irons and a set of detachable wands from Amazon. Since your hair is not being pressed between two plates, the brands here can range. The heat is more dispersed and not always directed on delicate strands. Definitely a less damaging option than straightening.

What are you waiting for? You know what you need to do so go get started!

xoxo,

Michelle

Design a site like this with WordPress.com
Get started